Part 2: Fuel Pump
The first major repair I did for this truck was the Fuel Pump. I did this project before I had the idea of starting this blog about the process, so I don’t have any photos of what it took. But let me just tell ya, it was fun but challenging. Ideally I would have been able to have someone help me pick up the bed and fully remove it off of the frame. This took a bit of figuring out on my own, I probably spent an hour at least just getting access to the Fuel Tank/Pump. I found all of the bolts under the bed that secured it to the frame, removed them. I tried to slide the bed back on my own, but it was too cumbersome to get it over the rear bumper given the rounded fenders that fall below it. I ended up lifting up the bed at the drivers side and put a jack stand under it. I was then able to straddle the rear wheel and get to the top of the Fuel Tank.
I could see where the fuel was leaking from. My guess is that at one point, the bed was filled beyond it’s capacity and it bent the sending line which slightly disconnected it from the sending unit, effectively shooting fuel from the top of the fuel tank via the pump. I know Chance had mentioned they used it recently to load a bunch of stone for a project they had, and the bed liner had some rocks wedged between it and the painted surface of the bed. This is my best guess based on this information. Regardless of the sending unit being “repairable” I continued with replacing the Fuel Pump to ensure it was fully functional and healthy. Peace of mind n’all.
The most difficult part of this process was drilling out a dead hole in the top of the fuel pump. The pump I purchased SAID it was for this truck, and it was the correct one, but it didn’t come with a critical Sensor, and if I wanted to swap out the old sensor in it the same place, well… I had to drill through the top of the pump. I cut my finger open doing this but it wasn’t that bad. It was hard to find a good way to grip the top of the pump and drill through while avoiding my fingers on the other side. Not much blood was mixed in with the fuel. Stepping up bit sizes gradually, I eventually got the sensor to fit identically to the stock setup (I imagine this is the original Fuel Pump, can’t be sure).
Pump in, and clamped down with the new O-Ring and lines connected.
For safety while working on this, I removed the negative terminal on the battery, just to ensure I didn’t create a fire. (Extinguishers should always be in reaching distance when working with fuel.) While I had the bed up, I plugged her back in and started the truck, just to make sure everything worked correctly.
IT WORKED!
No fuel spraying, no smell, NOTHING.
I disconnected the battery again, just in case. Put the bed back on, filler neck back where it belonged. Took it for a test drive, and it ran much better.
I haven’t seen a misfire code since.
Total Cost - $100
Hours of Labor - 2.00
Part 1: Purchase & Towing
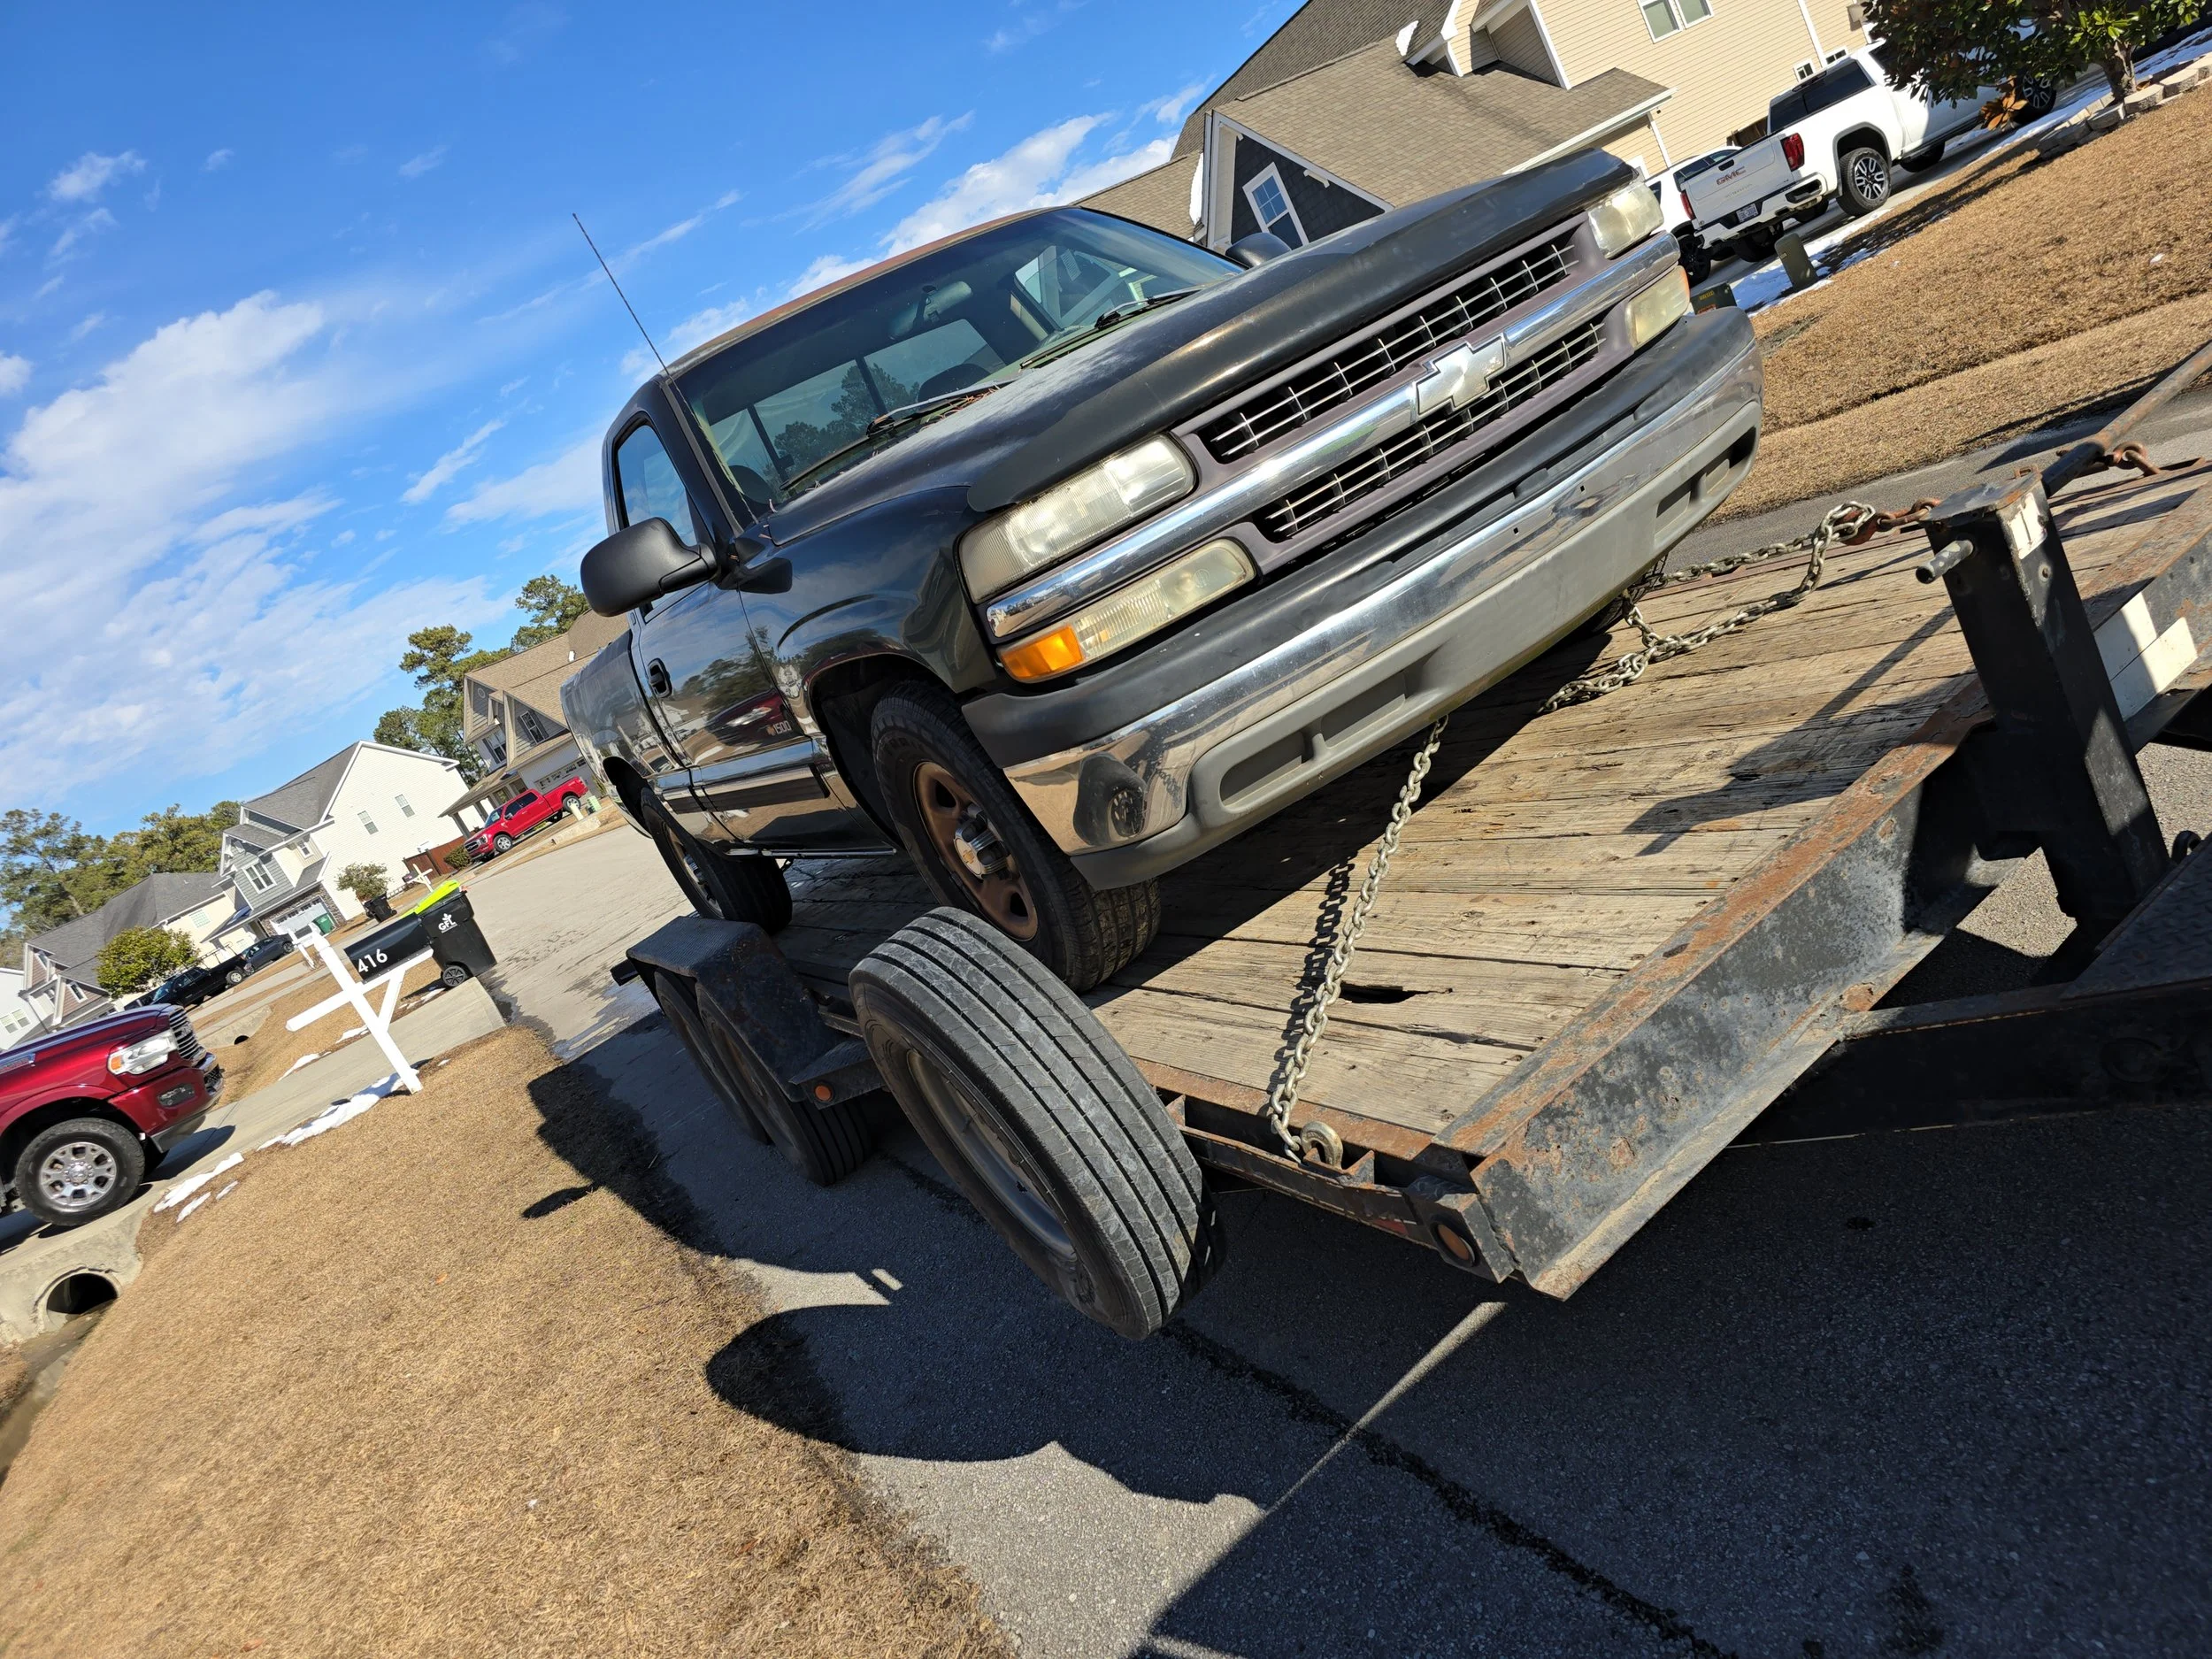
At the beginning of the year, my friend found a Pontoon boat from a guy in Swansboro, NC. Let’s call him Chance. The trailer had rusted out and fallen apart, but the boat itself was in decent shape. He worked out a deal with the guy and brought it home. He got to talking about another item that was sitting on Chance’s property. A 2001 Chevrolet Silverado 1500. It’s a base model, regular cab, short bed truck with around 140,000 original miles. The biggest issue was a misfire code that he could not eliminate. It smelled of fuel when running. He always suspected the Fuel Pump but never got around to replacing it. His wife said it was time to sell it and move on. Chance drove every mile of the 140,000 on the odometer. It pained him to sell it. He wanted $800 but he graciously settled on $700. After a test drive I could tell it was in good shape and it just needed a little TLC. The AC didn’t blow cold, he was up front about that as well. There was a rattle coming from under the body while driving, that would need further investigation. We put it on a trailer and brought it home. It sat for a few weeks before I began working on it, I was getting funds together to purchase a Fuel Pump and other necessary parts. Here are the plans for this truck (updated upon completion).
Fuel Pump (Completed)
AC Compressor (Completed)
Tailgate Rebuild (Completed)
Front Speakers
New Dash & Door Cards
Fluids Flush
Lowering Kit
Paint
Bed Liner
Wheels & Tires
Tint
$ Invested:
Initial Cost - $700
Fuel Pump - $90.00
Tail Gate Rebuild Kit - $ 45
AC Compressor - $250
Total Invested - $1,085.00
KBB value when purchased - $2,900 - $5,200
KBB value in “Excellent” condition - $3,800 - $6,800